Getting Started with Inhumate Suite
The very first step of getting Inhumate applications up and running is to install the RTI – Runtime Infrastructure. It consists of a message broker service, running in the background on your computer, and a handy control panel web interface. Even if you plan on using a server later on, we recommend installing the RTI locally on your machine for testing and development.
- Download the RTI
- Install the RTI
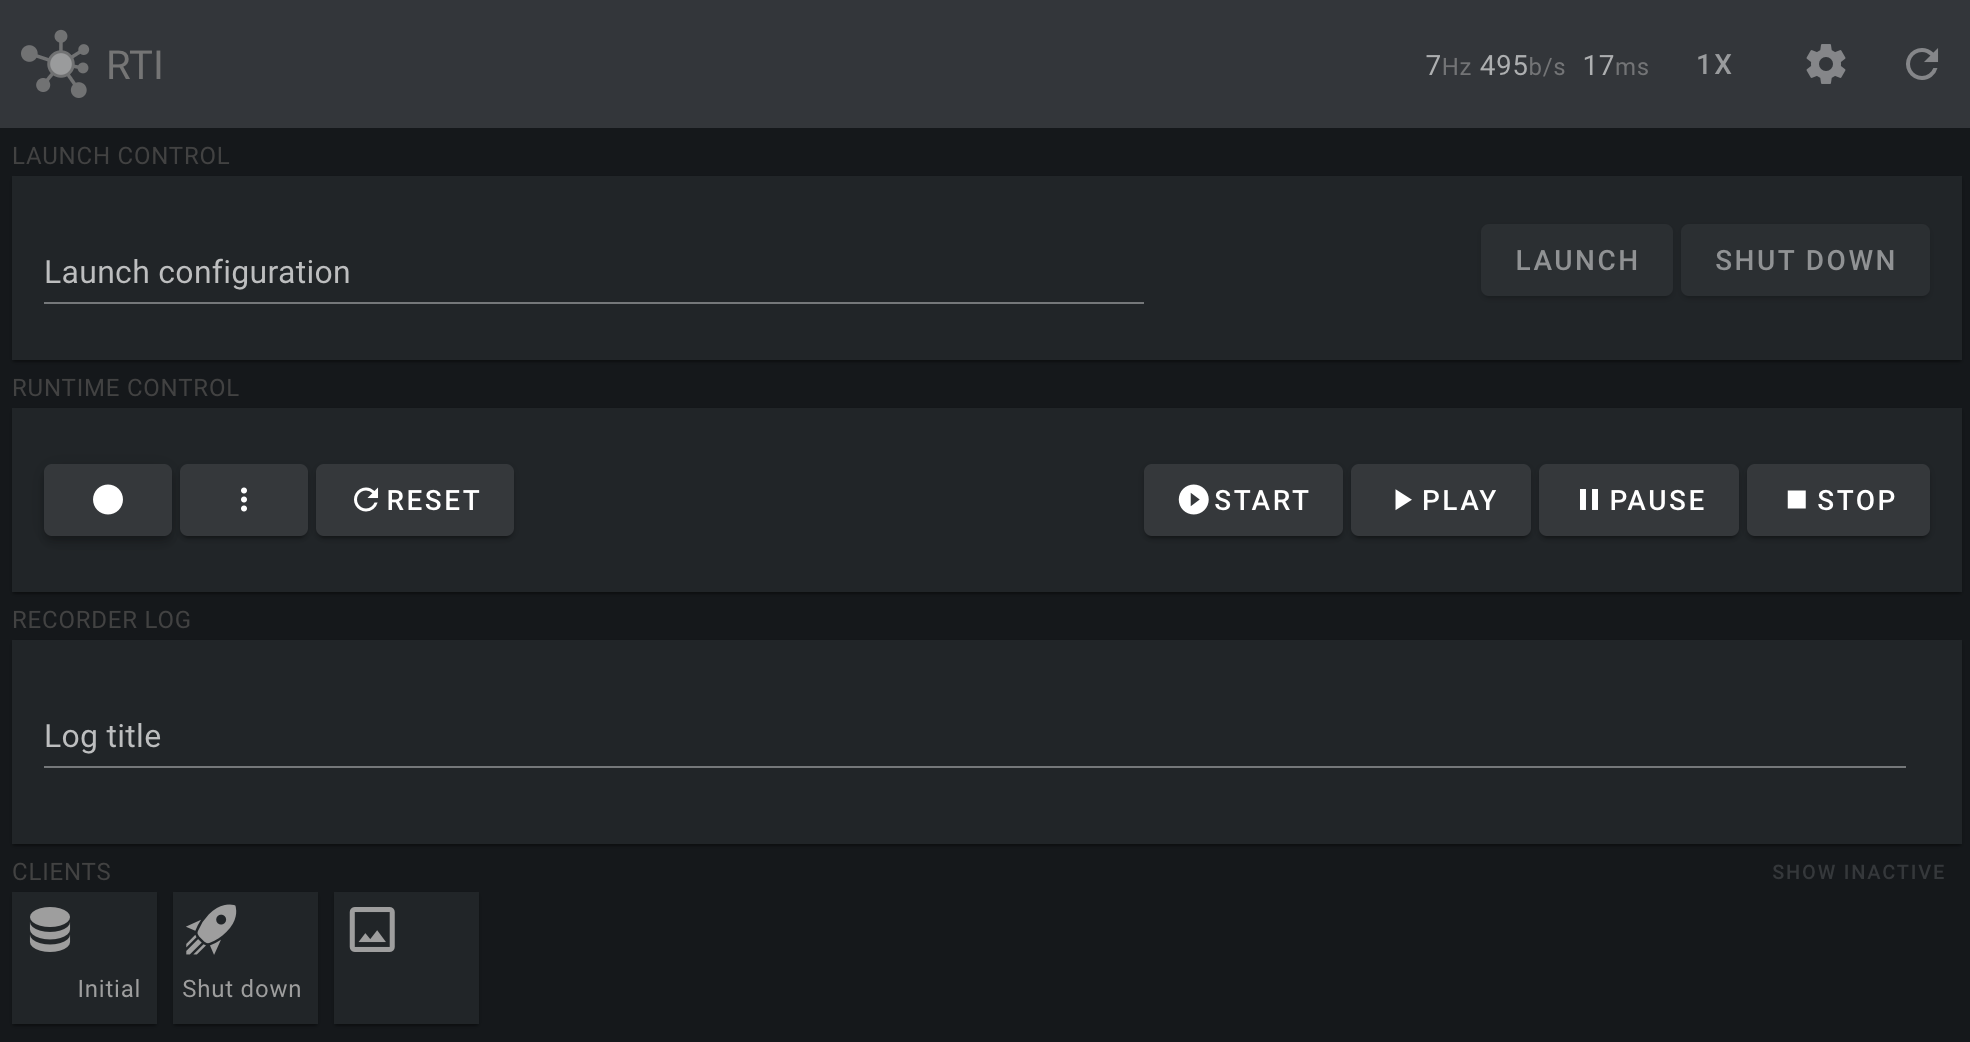
- Verify that you’re able to access the RTI control panel by visiting localhost:8000 with your web browser
It should look like this:

Rather dull. Now…
- Depending on your use case, download and install other applications from the suite, such as Viewer, Recorder, Launcher, CLI
- When the applications are installed and running, you should see them connected as clients in the RTI control panel.
Something like this (with Recorder, Launcher and Viewer connected):

Slightly more fun! You now have a great toolbox installed on your machine.
Where to go from here
Now that you got the necessary infrastructure and tools up and running, try one of our tutorials. If you are more into learning by reading rather than doing, check out the core concepts section. Or if you’re in a hurry, start integrating your own applications right away.